Hosted Pages in Voila
The Hosted Pages feature in Voila offers a visual interface for functionalities traditionally managed through API calls. It simplifies integration by allowing users to generate invitation links, apply bespoke branding, and configure courier installations effortlessly. This guide provides a detailed explanation of each section within Hosted Pages, offering step-by-step instructions to maximise your platform's capabilities.
Last updated 10 months ago

Hosted Pages
When you create a Hosted Page, you are generating a customised, branded interface that someone else, typically your client, partner, or company owner, can use to easily access and install your services without requiring direct development work on their side.
In other words, you are building a ready-made experience for them, tailored with your branding and pre-selected settings, so they can interact with your services (such as installing couriers, or integrations) quickly and seamlessly.

Key Points:
You control the branding, options and configurations.
They (your client or partner) simply click a link, follow the guided setup, and start using your services.
This approach removes complexity for the end-user and ensures a consistent, professional onboarding experience.
Simple Version:
You are setting up a Hosted Page so others can easily customise and install your services through a clean, branded portal - without needing to build anything themselves.
Accessing Hosted Pages
To locate the Hosted Pages section:
Click My Account in the bottom-left corner of the interface.
In the bottom left you will see the section, called Hosted Pages.
Click, “Add Hosted Page”
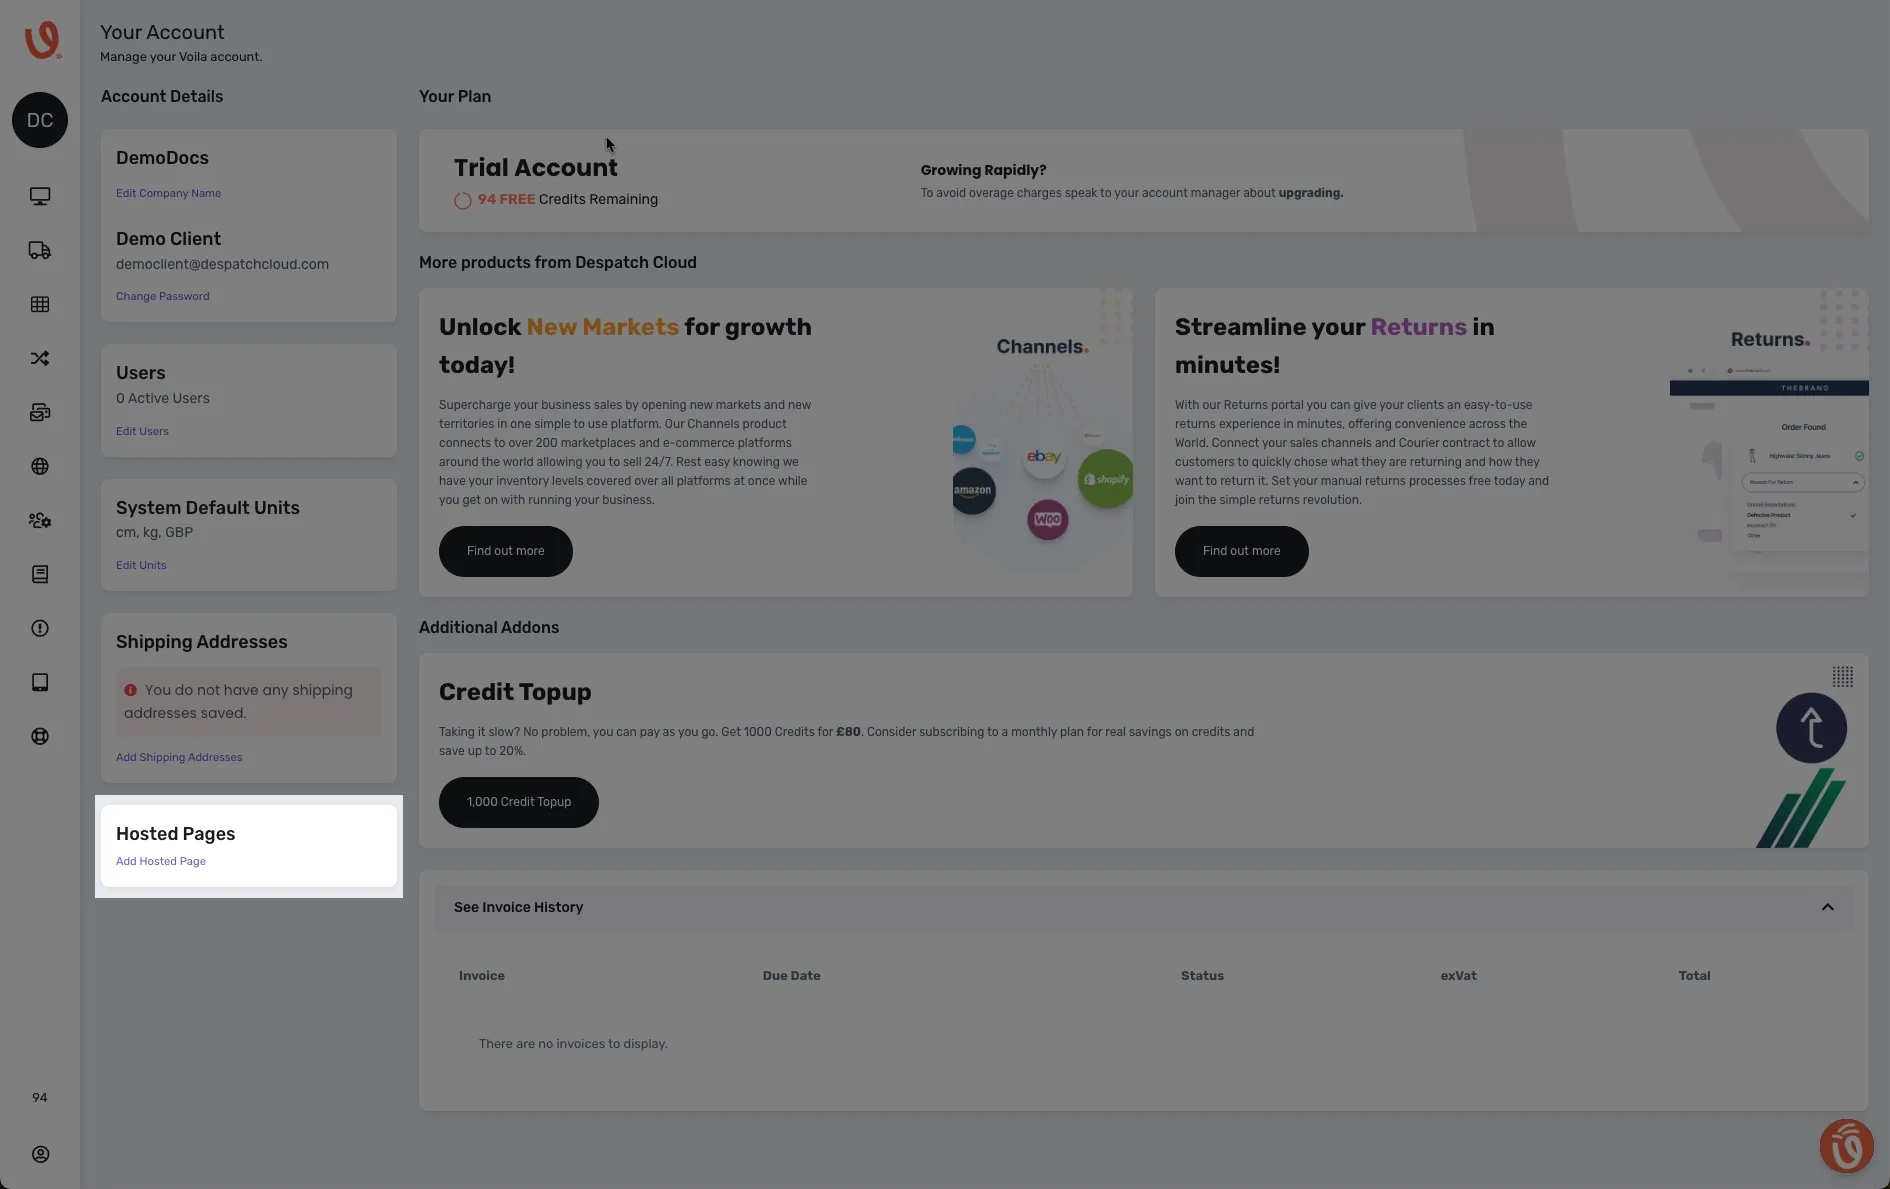
📸 Click to enlarge image if needed.
Key Features of Hosted Pages
Hosted Pages empower you to generate a companies invitation links, tailor branding, and manage courier configurations efficiently. The main functionalities are outlined below:
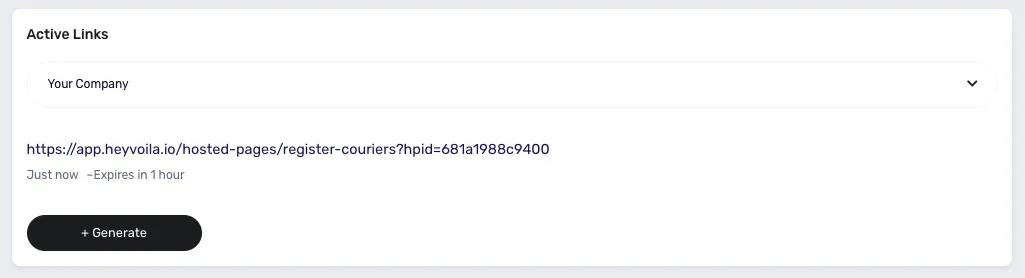
1 – 4: Active Links
Manage invitation links for your Companies:
Select the desired Company (API Account) from the list provided.
Click "+ Generate" to create an invitation link for the selected Company.
Note: Generated links are valid for one hour. After expiration, a new link must be generated.
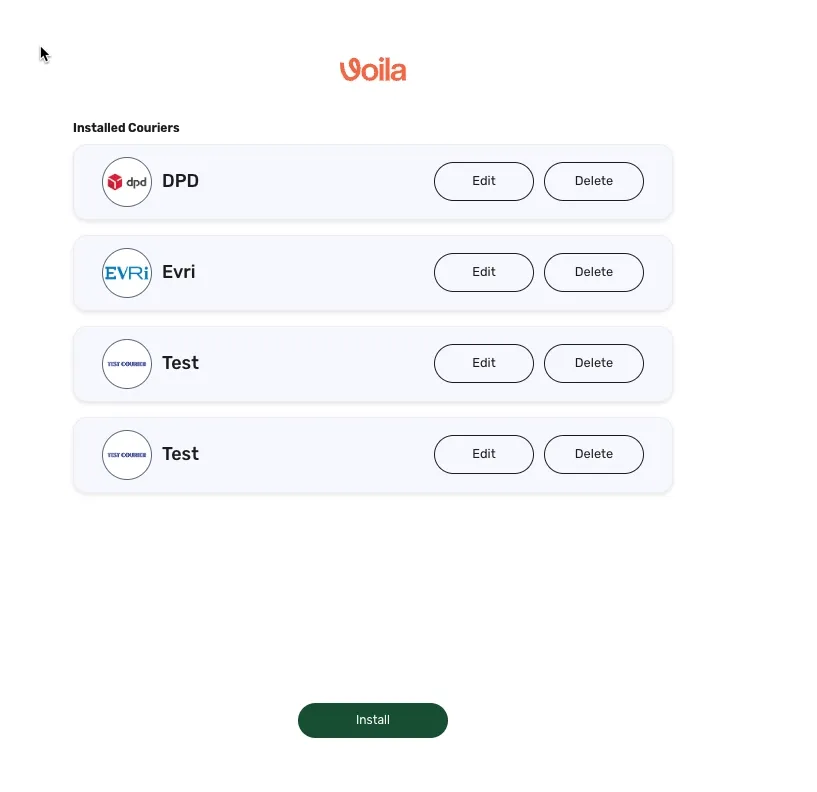
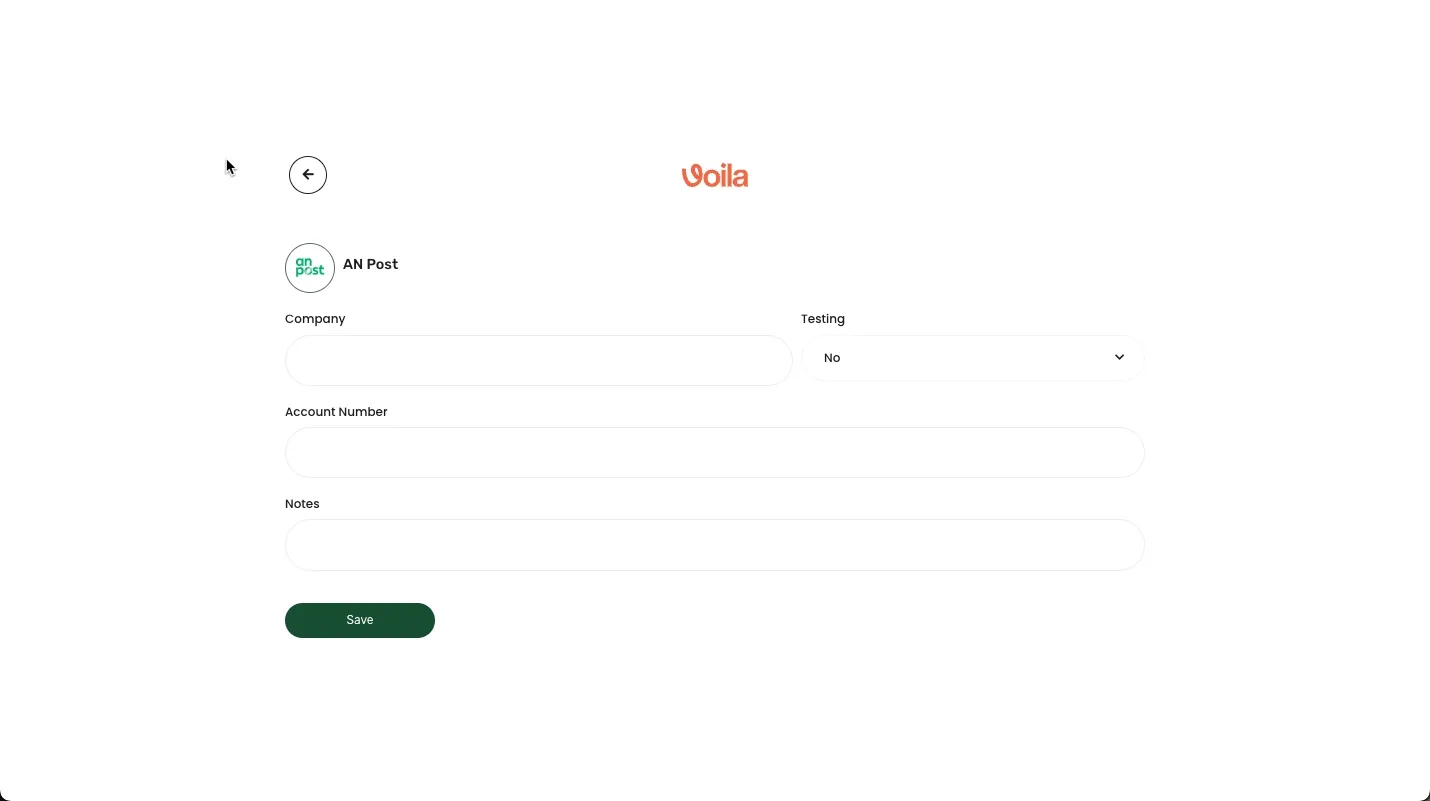
Click the generated link to open a page showing installed couriers.
If no couriers are installed, a notification will appear.

To proceed:
Click "Install" at the bottom of the page.
Select the desired Couriers to install.
Click the "Install" button for each selected courier.
Enter the required data (company-specific).
Tick all appropriate checkboxes according to your needs.
Click "Save" to complete the installation.
📸 Click to enlarge images if needed.

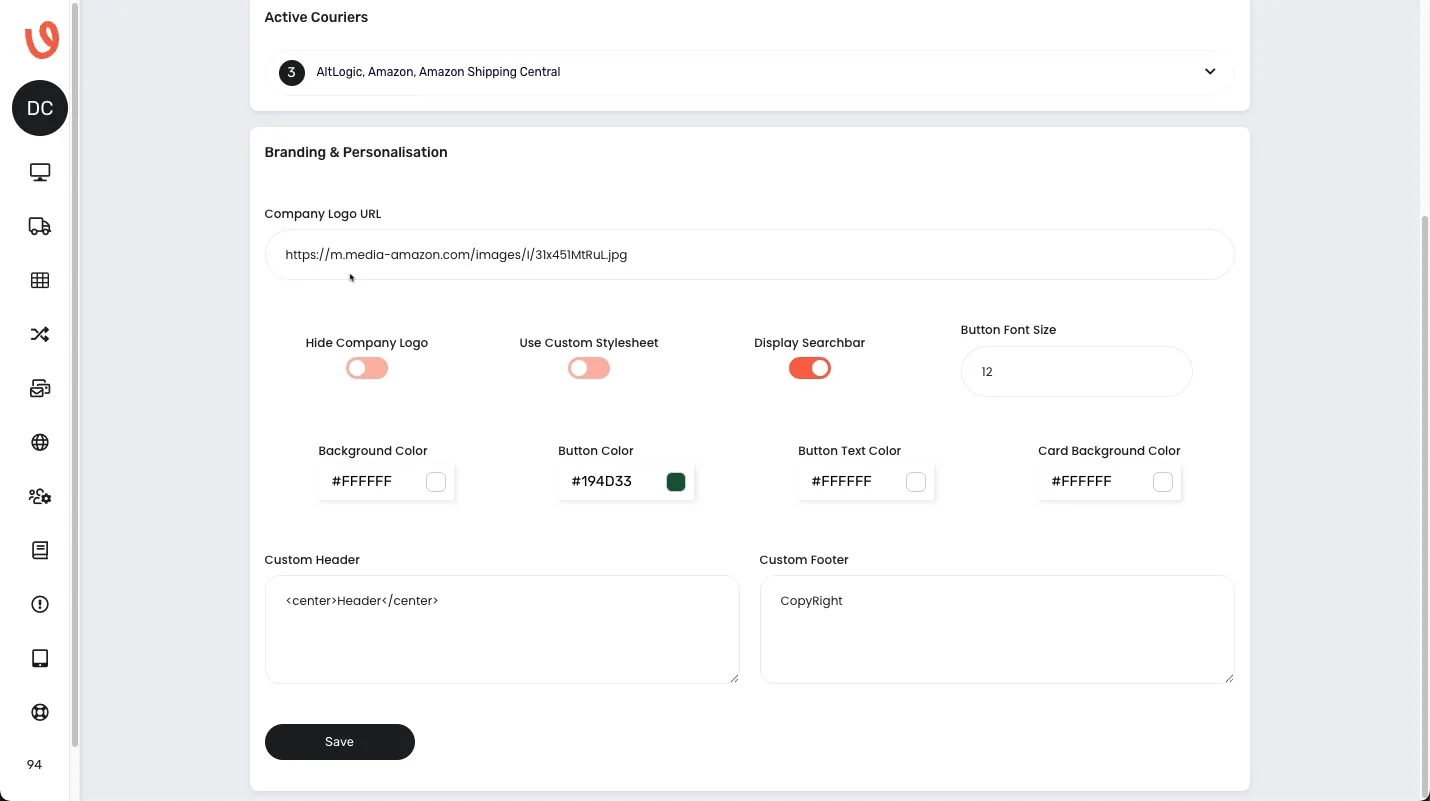
5: Branding & Personalisation
Customise the appearance of your Hosted Pages to reflect your brand identity:
Upload a custom logo via a URL.
Toggle the visibility of the search bar.
Adjust the colour scheme and font size.
You can add a custom header and footer, as well as CSS styling for the both.
Recommended logo size:
230 pixels (width) × 40 pixels (height)
📸 Click to enlarge images if needed.
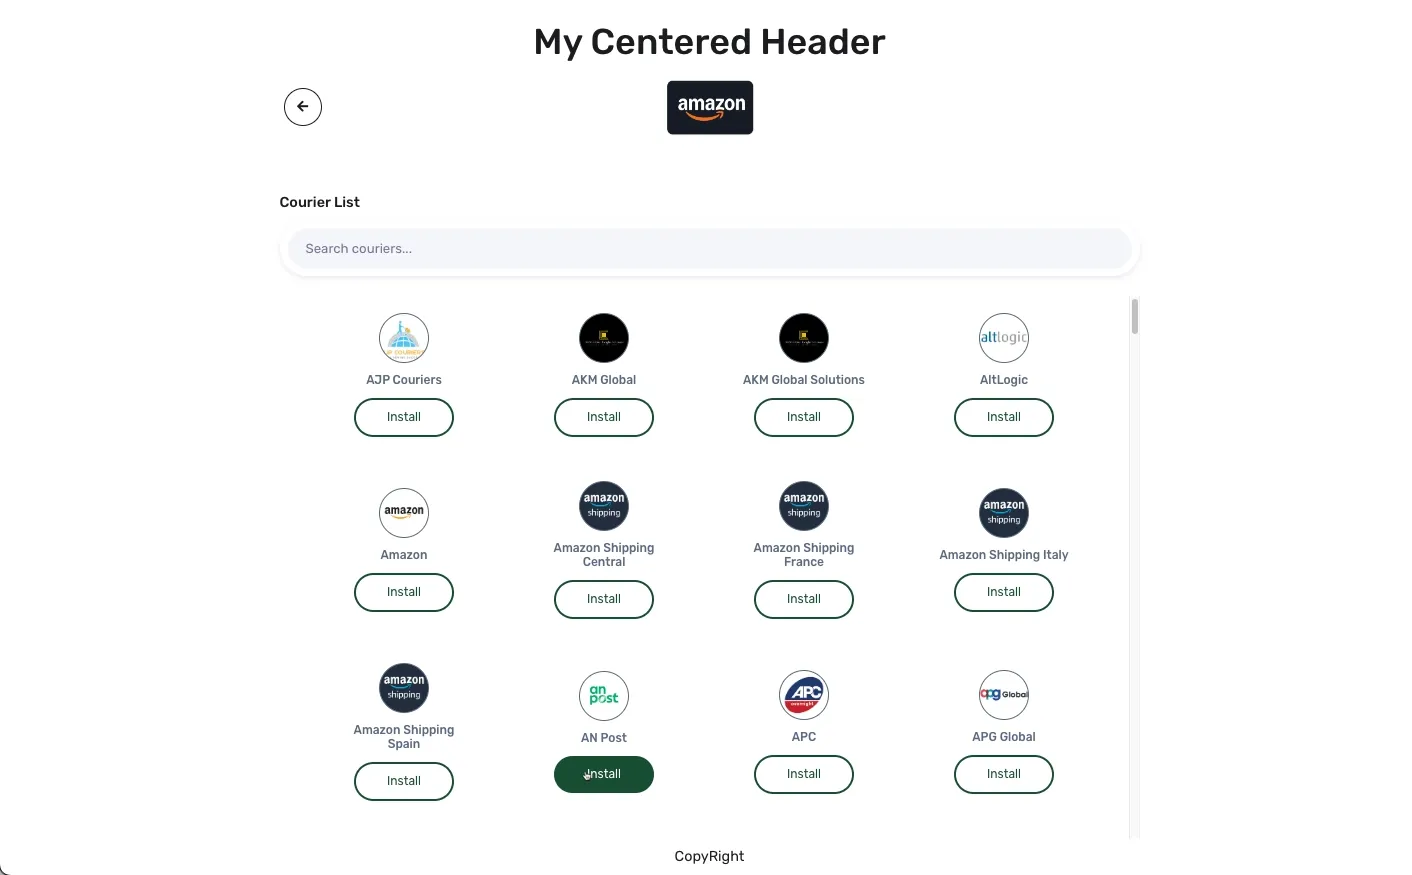
You can add more styles in your Custom Header
Example<h1 style="text-align: center; padding: 20px;">My Centered Header</h1>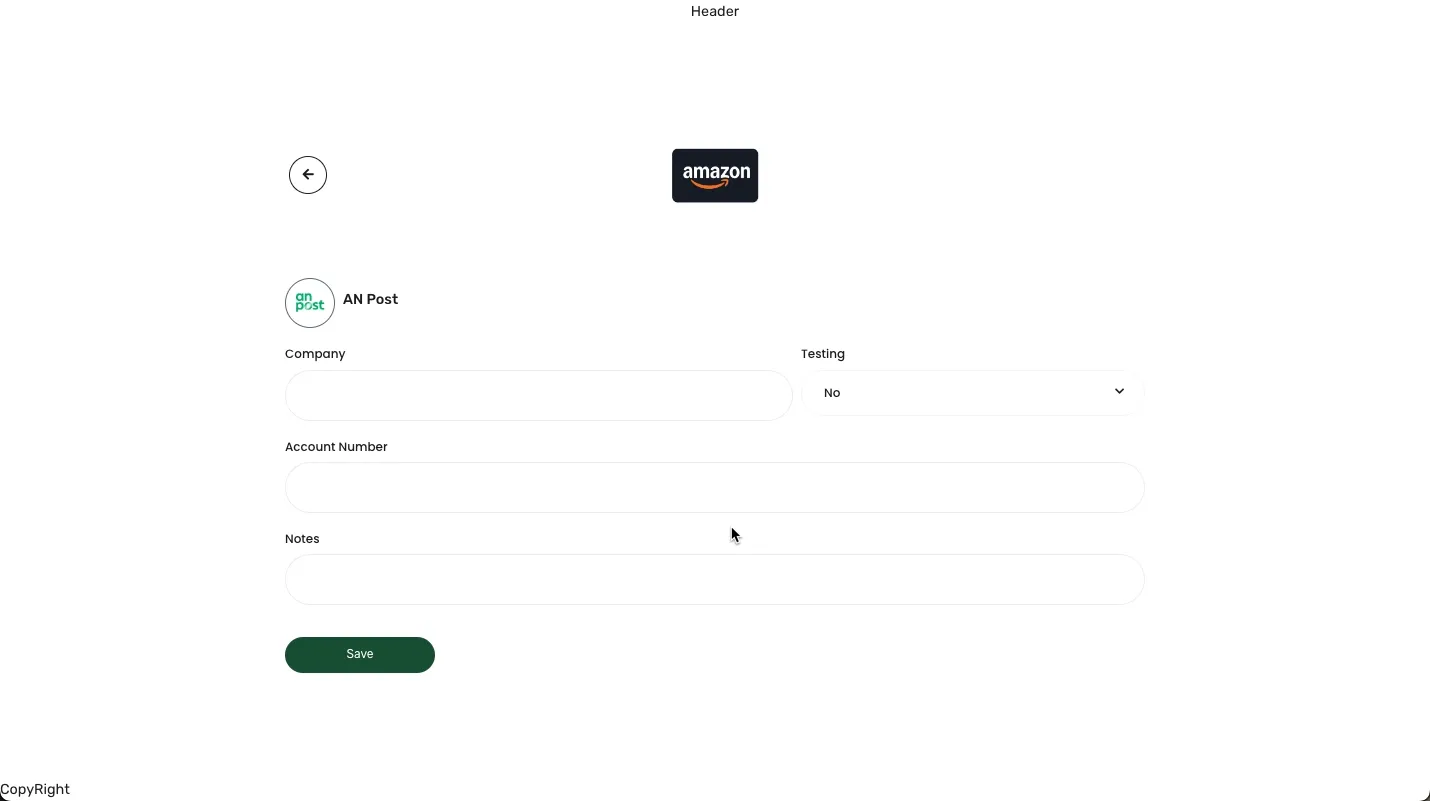
📸 Click to enlarge image if needed.
You can add more styles in your Custom Footer if you want it in the center and to add padding to the bottom.
Example<p style="text-align: center; padding-bottom: 10px;">CopyRight Footer</p>
6: Custom Stylesheets
Apply advanced branding by incorporating your own CSS styles:
Edit the Background Color, Button Text Color, Card Background Color, Button Font Size, Custom Header, Custom Footer to match your brand’s aesthetic preferences.
Upload the updated stylesheet to a hosting service.
Provide the hosted URL within Voila to apply the custom stylesheet.
You may apply multiple stylesheets by adding several URLs in the desired order.
Examplehttps://yourhost.com/styles/custom-style.css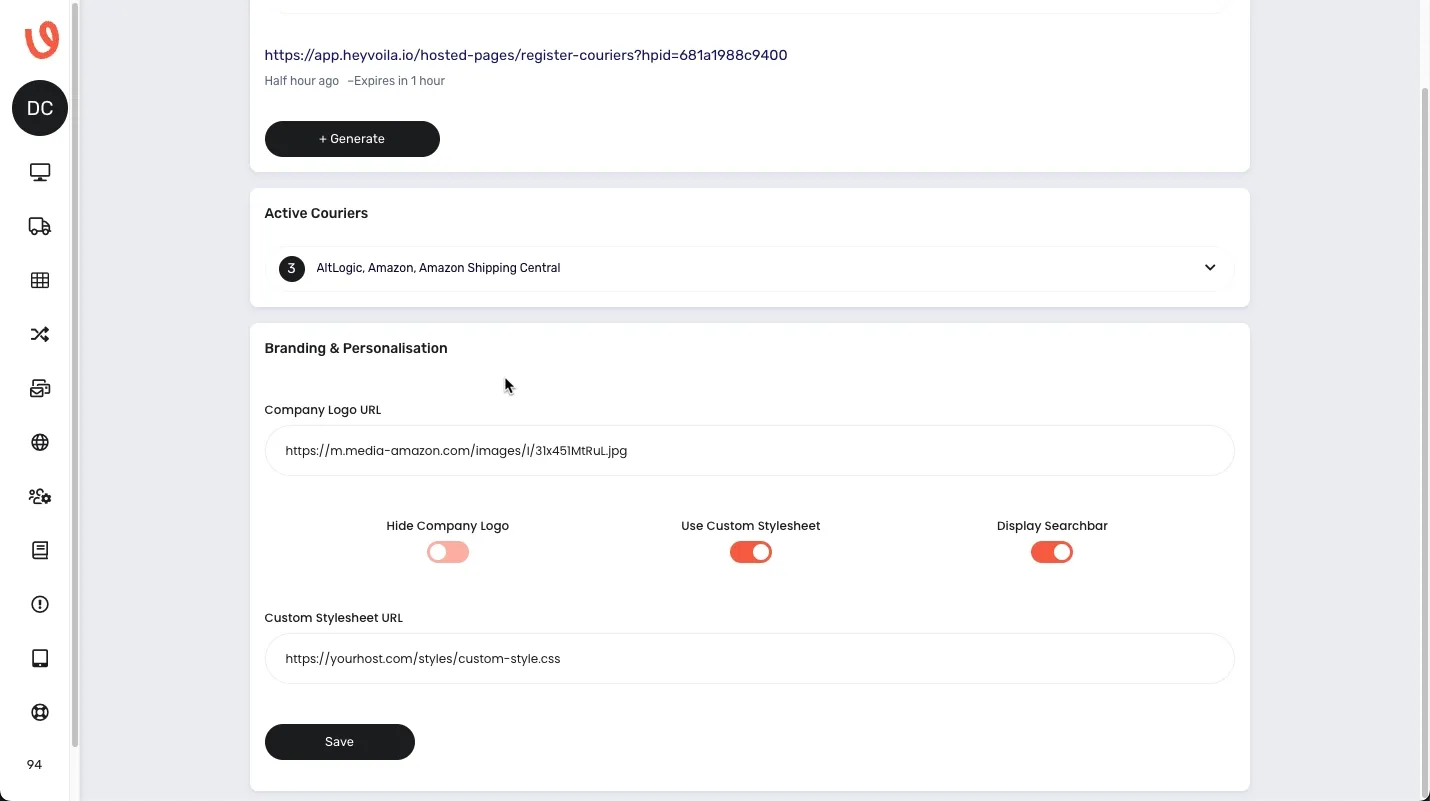
📸 Click to enlarge image if needed.

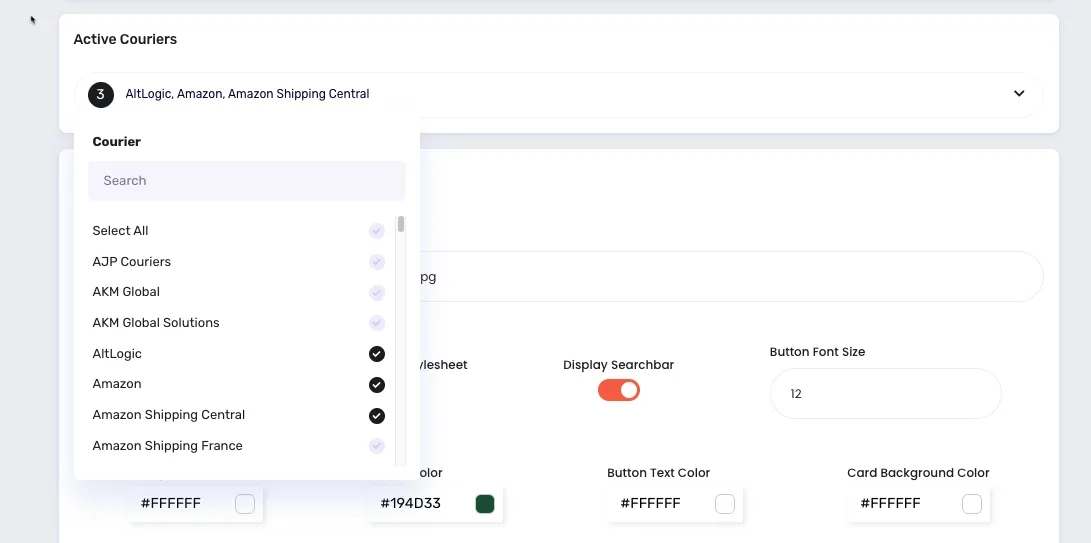
7: Available Couriers
Manage which couriers are accessible via Hosted Pages:
Enable or disable couriers by ticking the corresponding checkboxes or Select All, to enable them on the hosted page.
Apply visual settings and filters to refine the couriers list to match your branding.

📸 Click to enlarge images if needed.

Creating Hosted Pages via API Call
For users who prefer programmatic control, Voila also supports generating Hosted Pages through direct API requests.
To create a Hosted Page invitation link using an API call:
Step-by-Step Instructions
Ensure you have the appropriate API credentials:
api-userapi-token
Send a
POSTrequest to the following endpoint:Examplehttps://app.heyvoila.io/api/hosted-pages/create/register-couriersInclude the necessary headers for authentication:
api-user: Your Voila API username.api-token: Your Voila API token.
Set the request type to JSON.
Exampleconst response = await request.post({
url: 'https://app.heyvoila.io/api/hosted-pages/create/register-couriers',
headers: {'api-user':'user','api-token': 'token'},
json: true
});Important Notes
Replace
baseUrls.devwith the appropriate environment URL (dev,staging, orproduction).API tokens should be stored securely and never exposed in client-side code.
The returned
responsewill include the generated Hosted Page link or an error message if the request fails.

Would you like to see a video walkthrough? No problem - go to our video walkthrough section instead, hosted pages in Voila.
Additional Support
Please contact our Support if you have any additional enquiries.